
Sometimes you may want to quickly trim the beginning or ending (or both) off an MP3 file before loading it to the site. This is a step by step tutorial on how to do that using iTunes. If you do not have iTunes installed on your PC it is a free download.
1. Bring the audio file into the iTunes software. This can be done by dragging and dropping it into the Music window in the software.
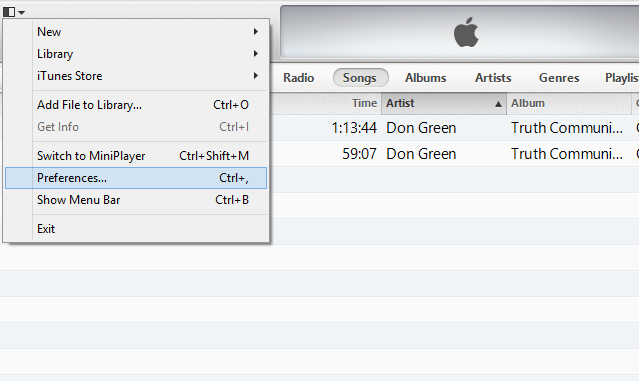
2. Be sure that you have MP3 selected as the default conversion file type. To do so click on the icon in the upper left hand corner of the program and select PREFERENCES from the drop down list.
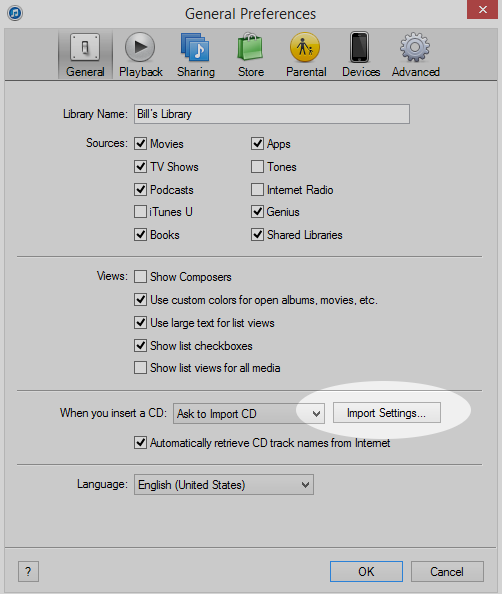
In the preferences dialog window click on the IMPORT SETTINGS button.
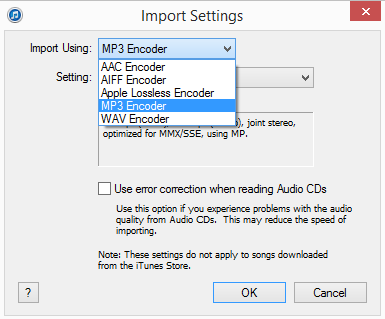
In the import settings dialog window select MP3 encoder. Then click OK until you are back in the main music window.
To avoid Phasing issues once the file is loaded to the site change the channels to MONO by selecting “custom” in the settings drop down,
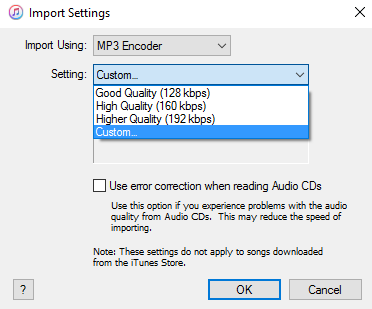
and then “Mono” from the channels menu dropdown.
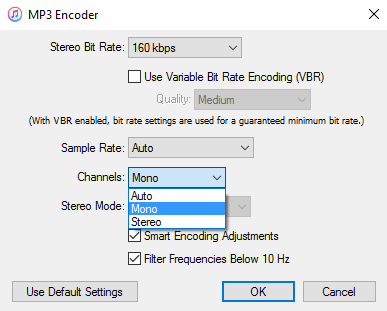
Click OK and return to the listing of music files in iTunes.
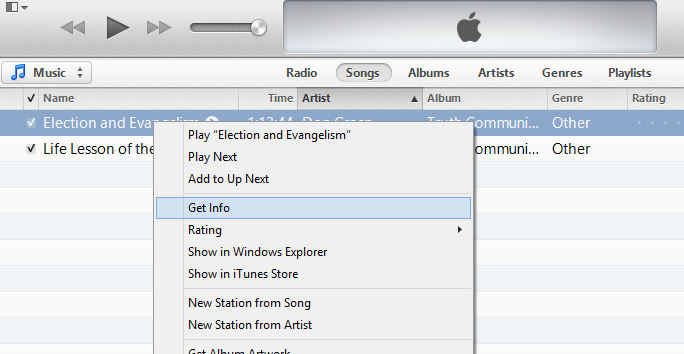
3. RIGHT CLICK on the file that you wish to trim and select GET INFO from the drop down menu.
In the popup window check the box next to either the start time and stop time boxes or both (only check the boxes that apply to you).
Next enter the time when you wish for the new audio file to begin and end. The time will be the actual time in the original not the amount of time you wish to trim.
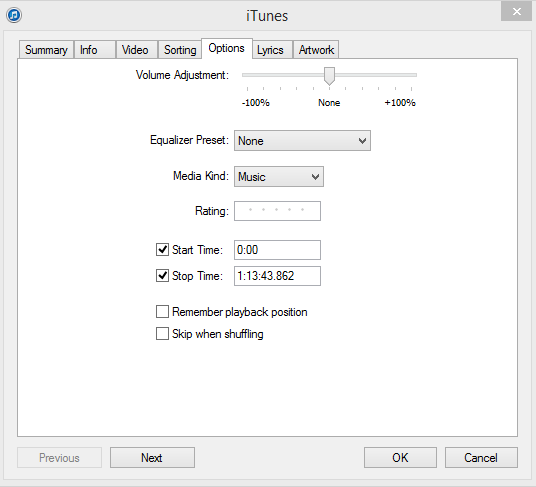
Once you have the times entered and the check boxes checked you can click OK.
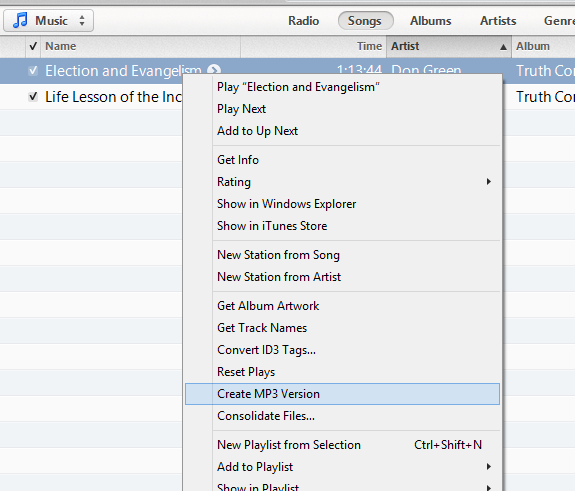
4. Last, you will create the new MP3 file. To do so RIGHT CLICK again on the file and select CREATE MP3 VERSION from the drop down. This will create a new trimmed file for you that will show up in the file listing. To get the file out of iTunes just click and drag it out of the window onto the desktop. From there you can upload it to site.
That’s all there is to it!