Notice: Larix now has a time limit and watermark for the free verison.
This page is a step-by-step on how to set up the Larix Broadcaster app for LIVE broadcast on SermonAudio. For more on what other options are available and what is needed to set up your account for webcasting visit our webcasting help page
If you do not yet have the app installed on your internet-connected phone or tablet you will need to do so before beginning this tutorial.
Please note that even though SermonAudio does save an archive of your live webcasts for two weeks it is still good practice to record the stream locally. You can normally create a sermon from the archive and post it to the site without the need for a lengthy upload but In the event that you need to upload a copy of the live session once it has completed, you will be glad to have to set the Larix App up to record locally.
To enable your account for LIVE webcast visit Webcast Manager section in the Broadcaster Dashboard on the website. The link for this section can be found near the bottom of the main menu on the left-hand side of the website.

If you have not yet enabled your account for webcasting with us you will be presented with the terms of service. Once you have agreed to these your stream key will be generated and displayed along with the server address needed to stream to our service.
You will need to have your account webcast enabled before you will be assigned a stream key.
It is a good idea for this next step to open the Webcast Manager section in the dashboard in a browser on the device you plan to stream from so that you can copy and paste directly into the app to avoid typos.
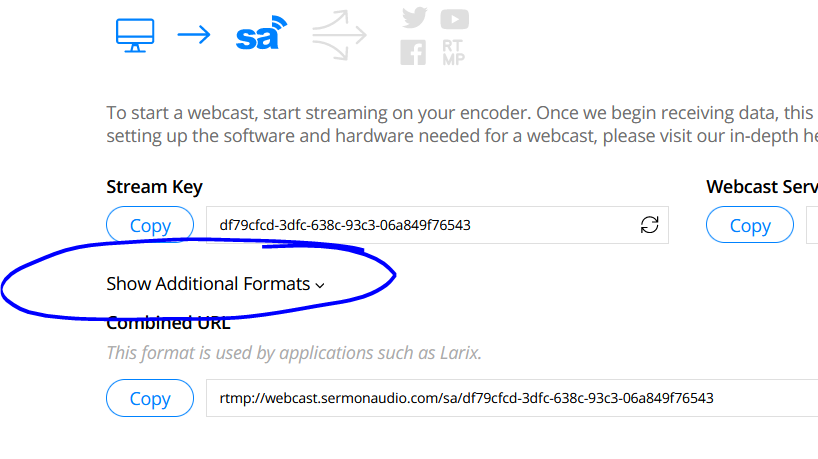
For Larix you will want to expand the additional formats section by clicking on it.
You will want to copy the combined server URL and stream key from that section to use in Larix.
Next, you will need to start the Larix App on your internet-connected device. Be sure that you have a connection to the internet from the device you will be streaming from.
Note: depending upon the bitrate you choose the data consumption can be quite high so be sure to have a data plan that can handle it or if available use WIFI.
The first time you open the app you will be asked to grant several permissions, it is important that you do so or the app will not work properly and you will have to go to the settings on your device to enable them later. The app needs access to the microphone and camera on your device in order to function properly.
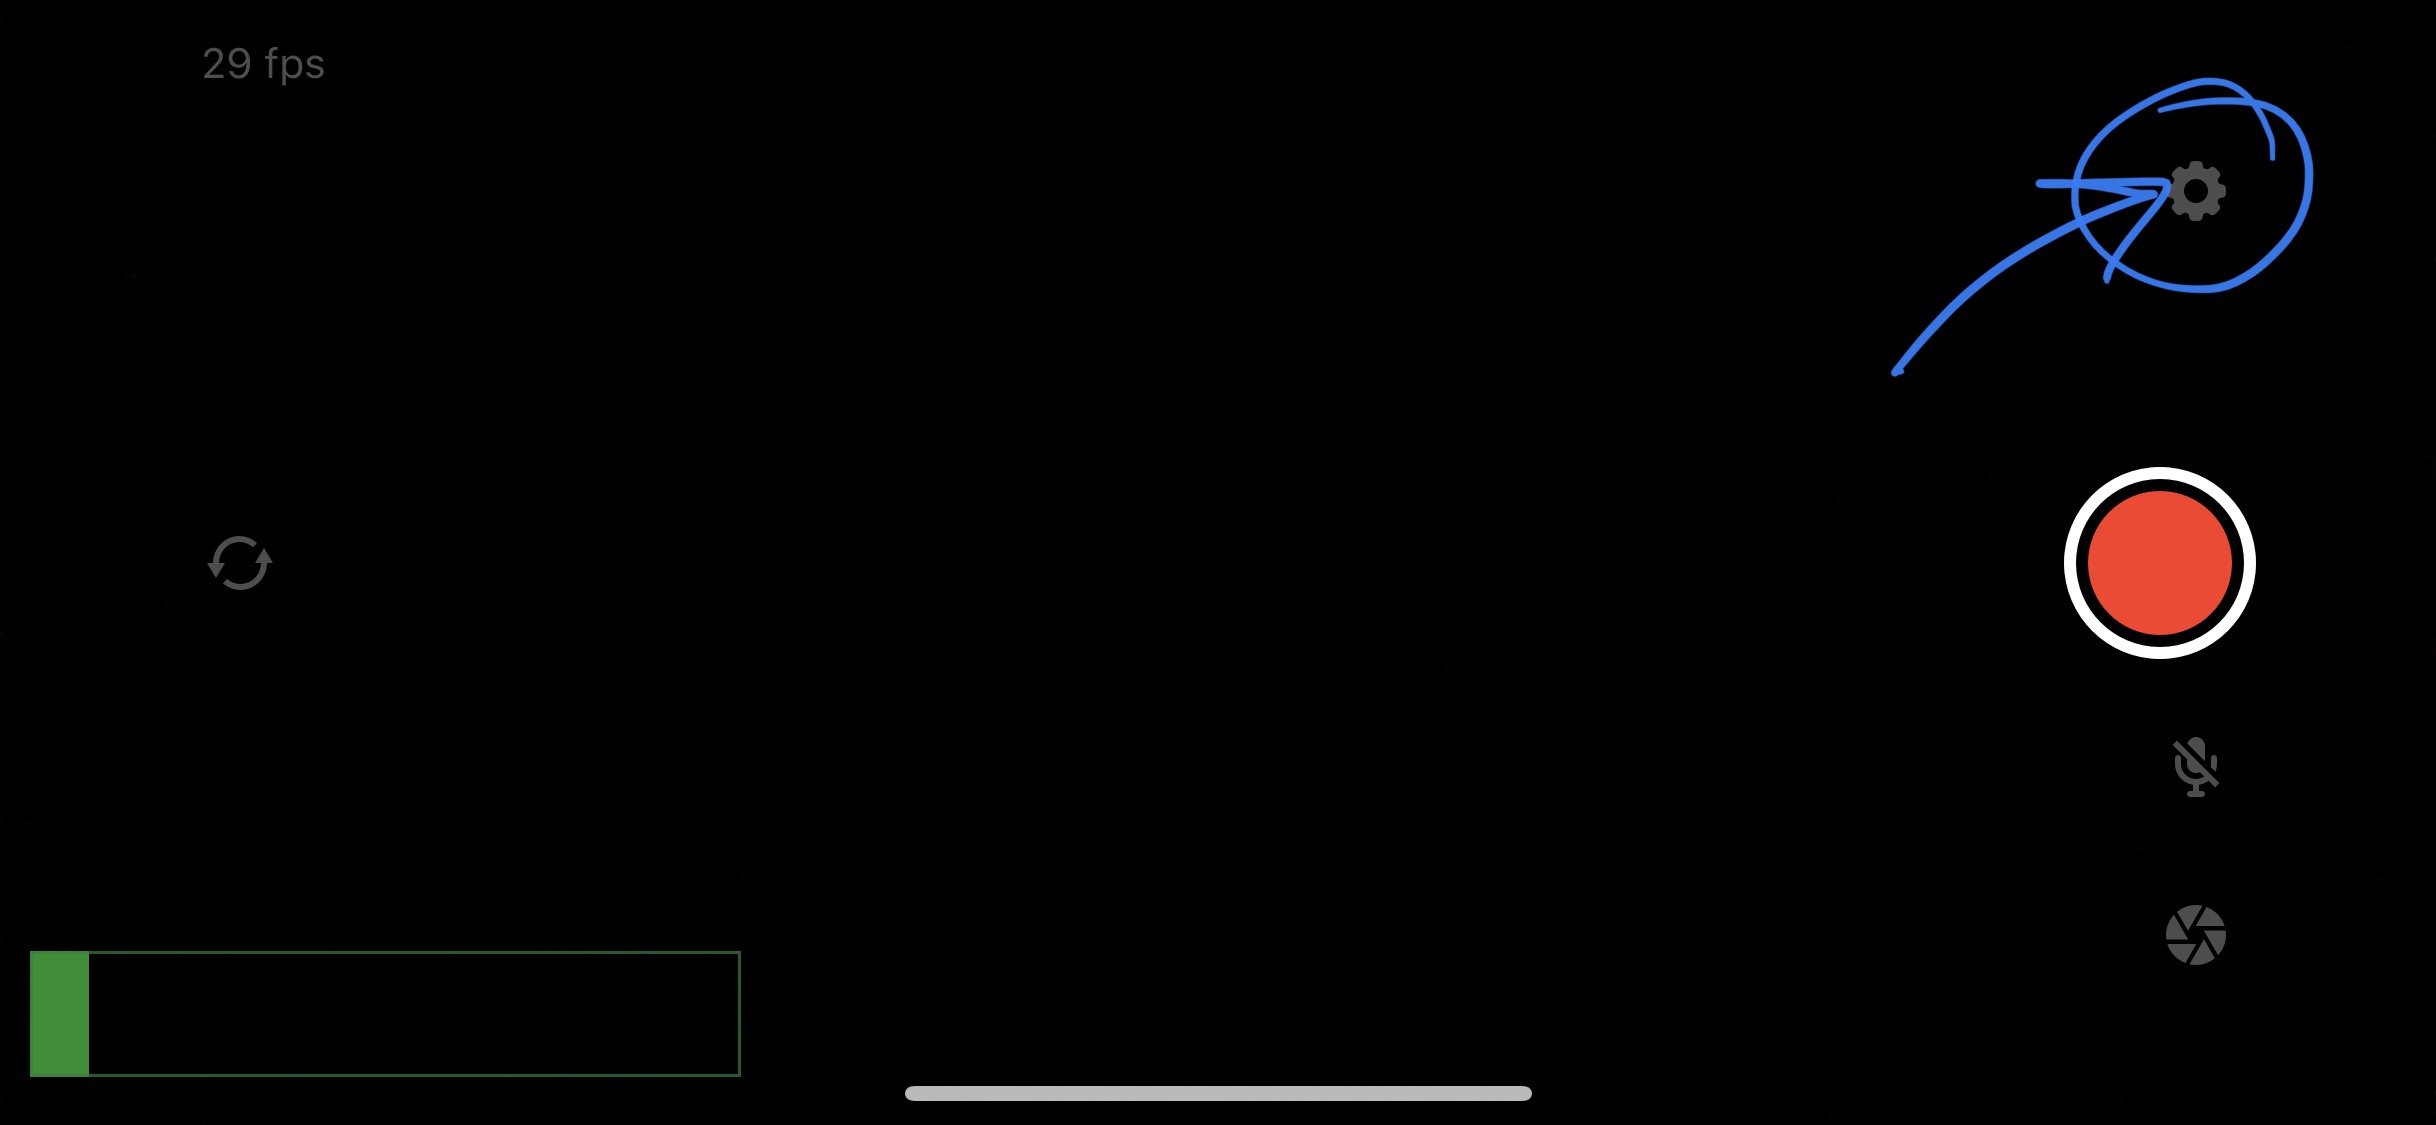
To start tap the gear icon on the main screen.
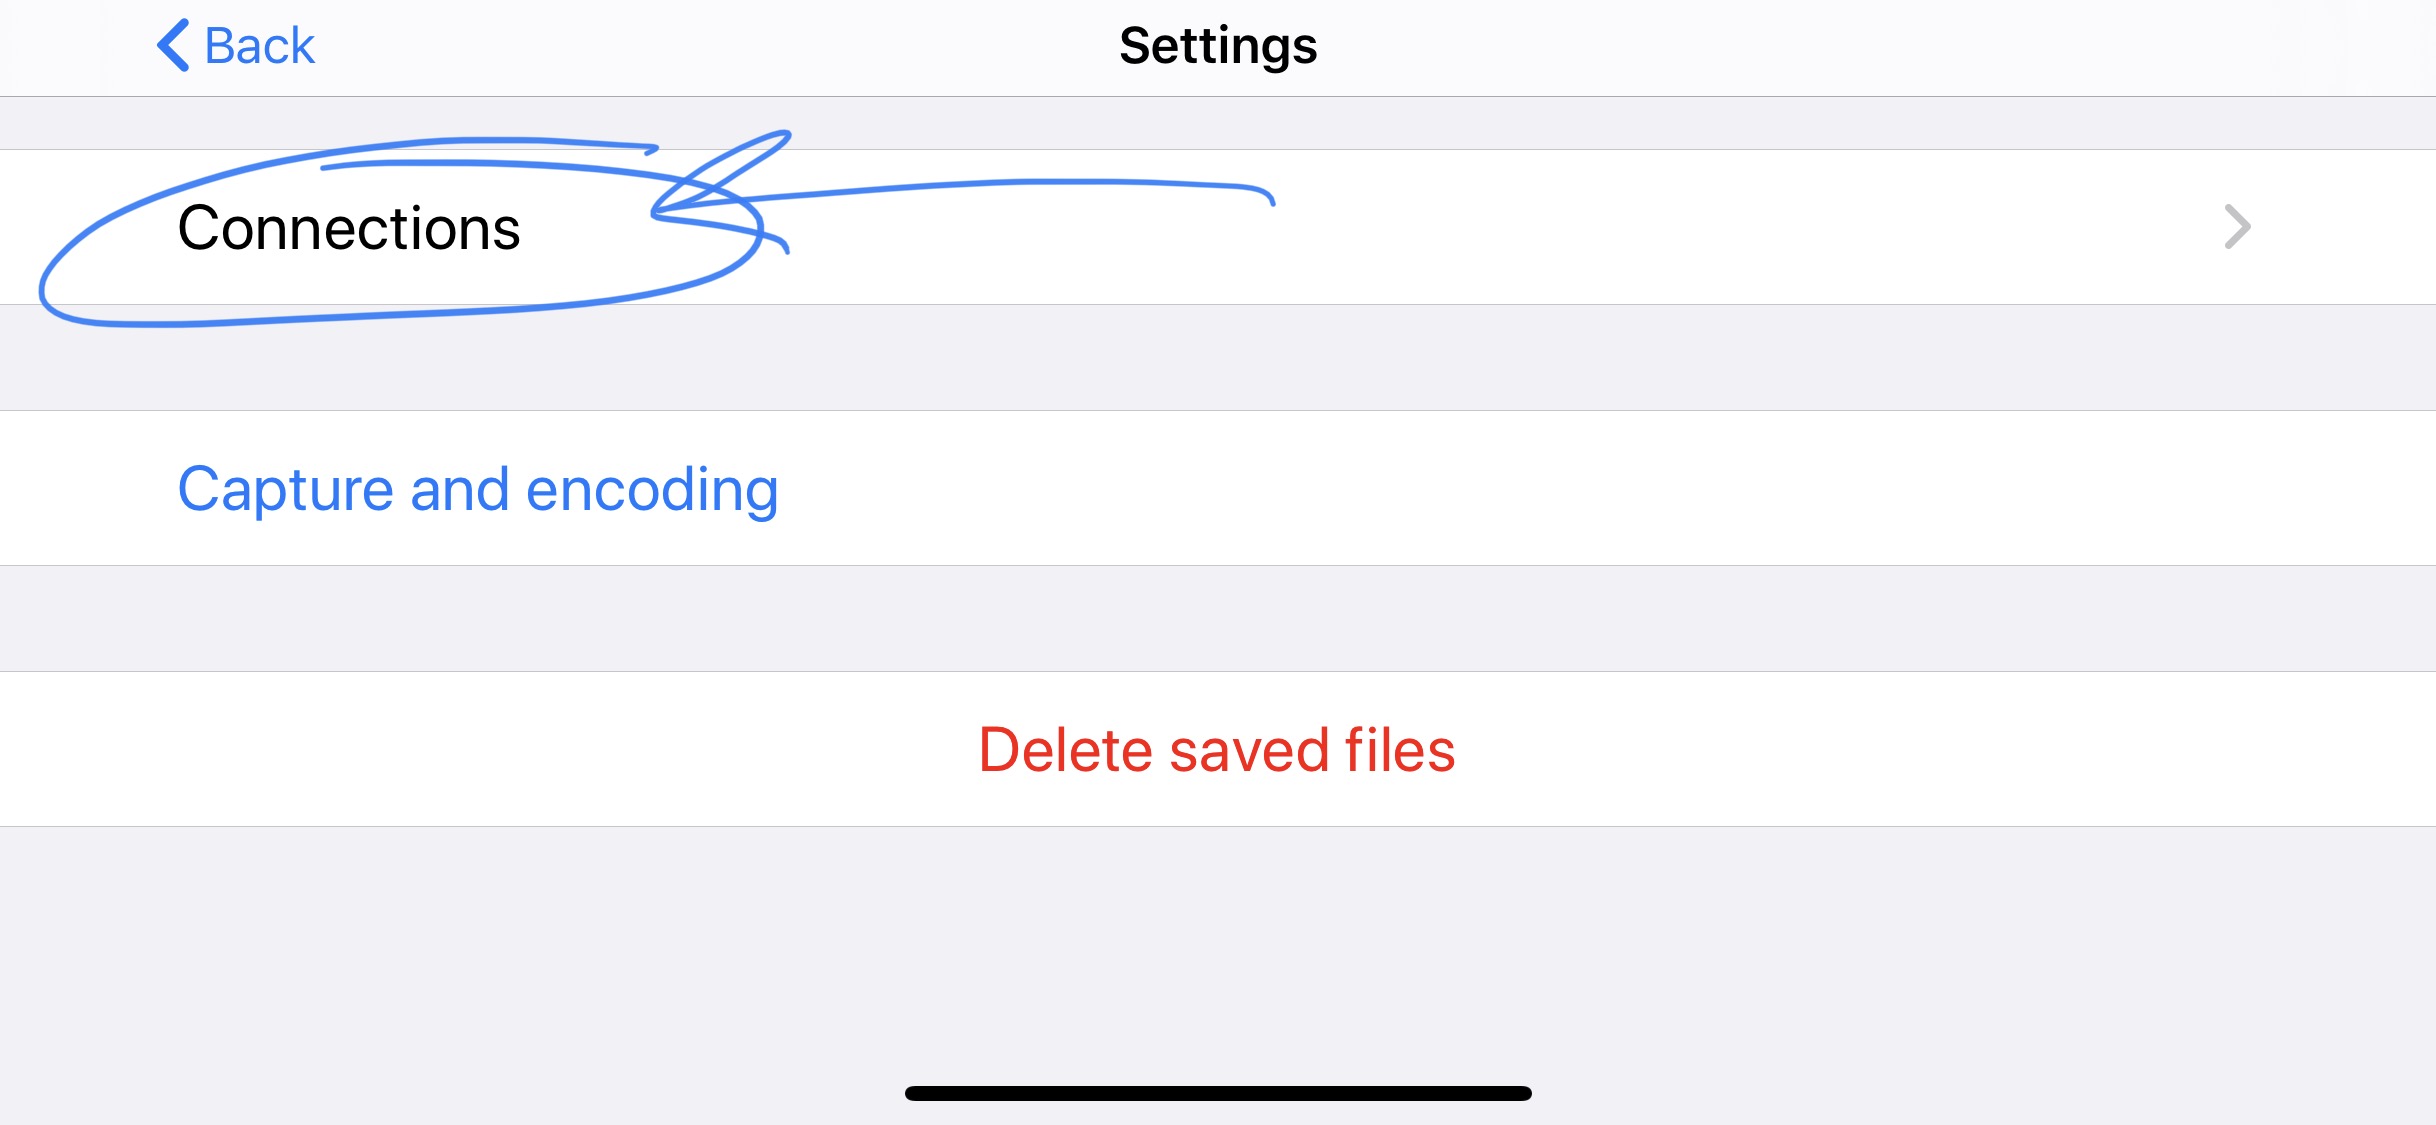
First, you will need to set up a connection to our server. To do so, tap on the connections option at the top of the settings page.
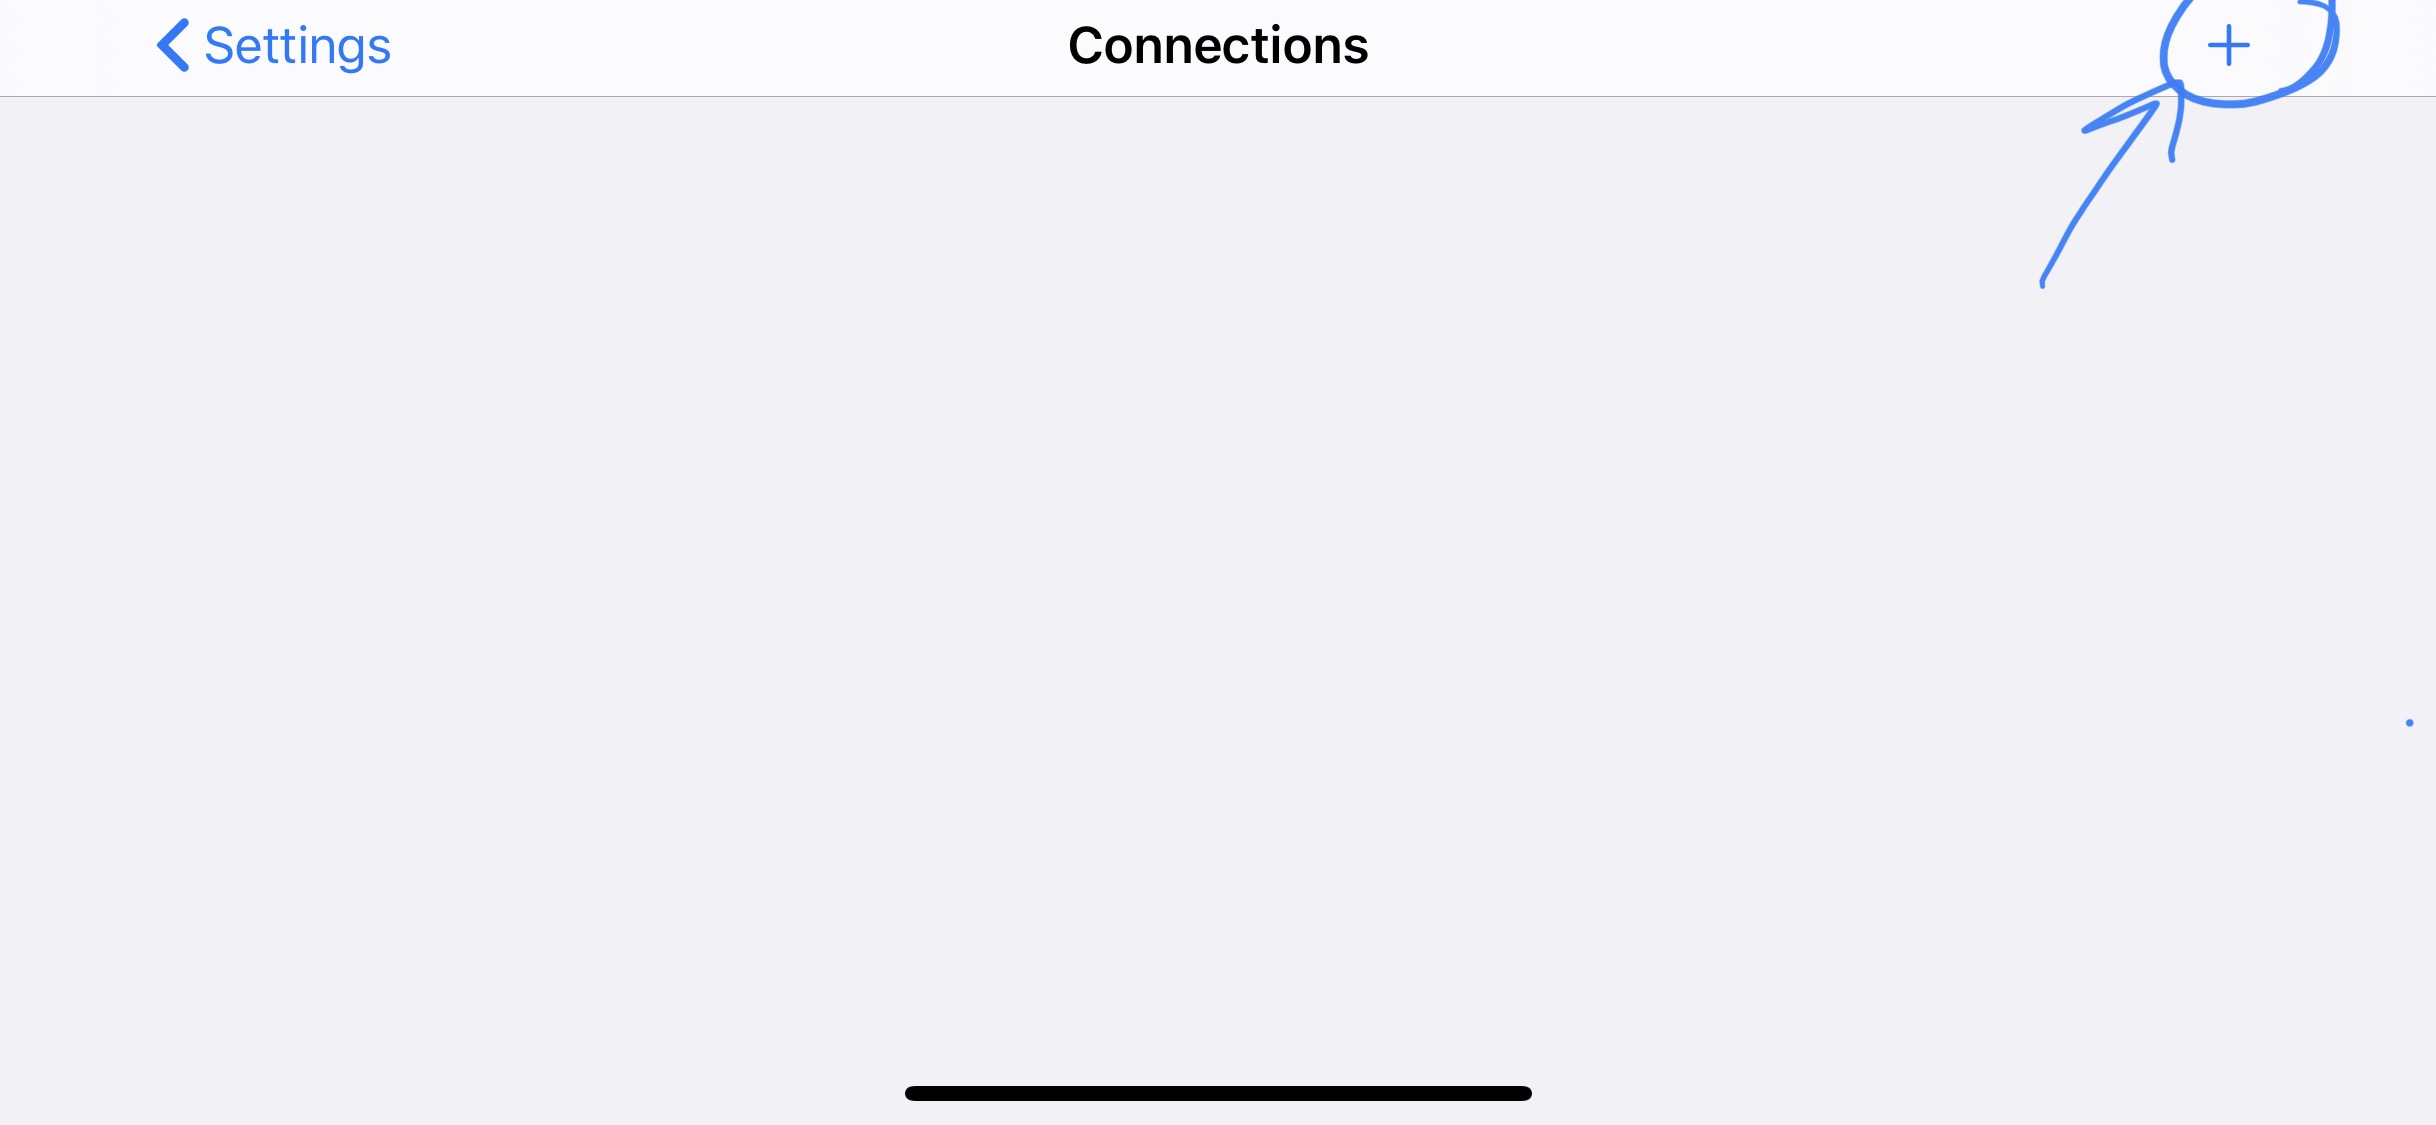
Next tap on the “+” in the upper right corner to add a new connection.
Here you will enter the URL or Server Address and the stream key.
In the URL field you will copy and paste or type the Server name and the Stream Key.
The additional formats section already has the two bits of data combined for you to make it easier to just paste it in. if you are typing in the address (not recommended) be sure to add a / before adding the stream key to the address.
If you are typing in the combined url be sure to add an extra “/” between the server URL and the stream key.
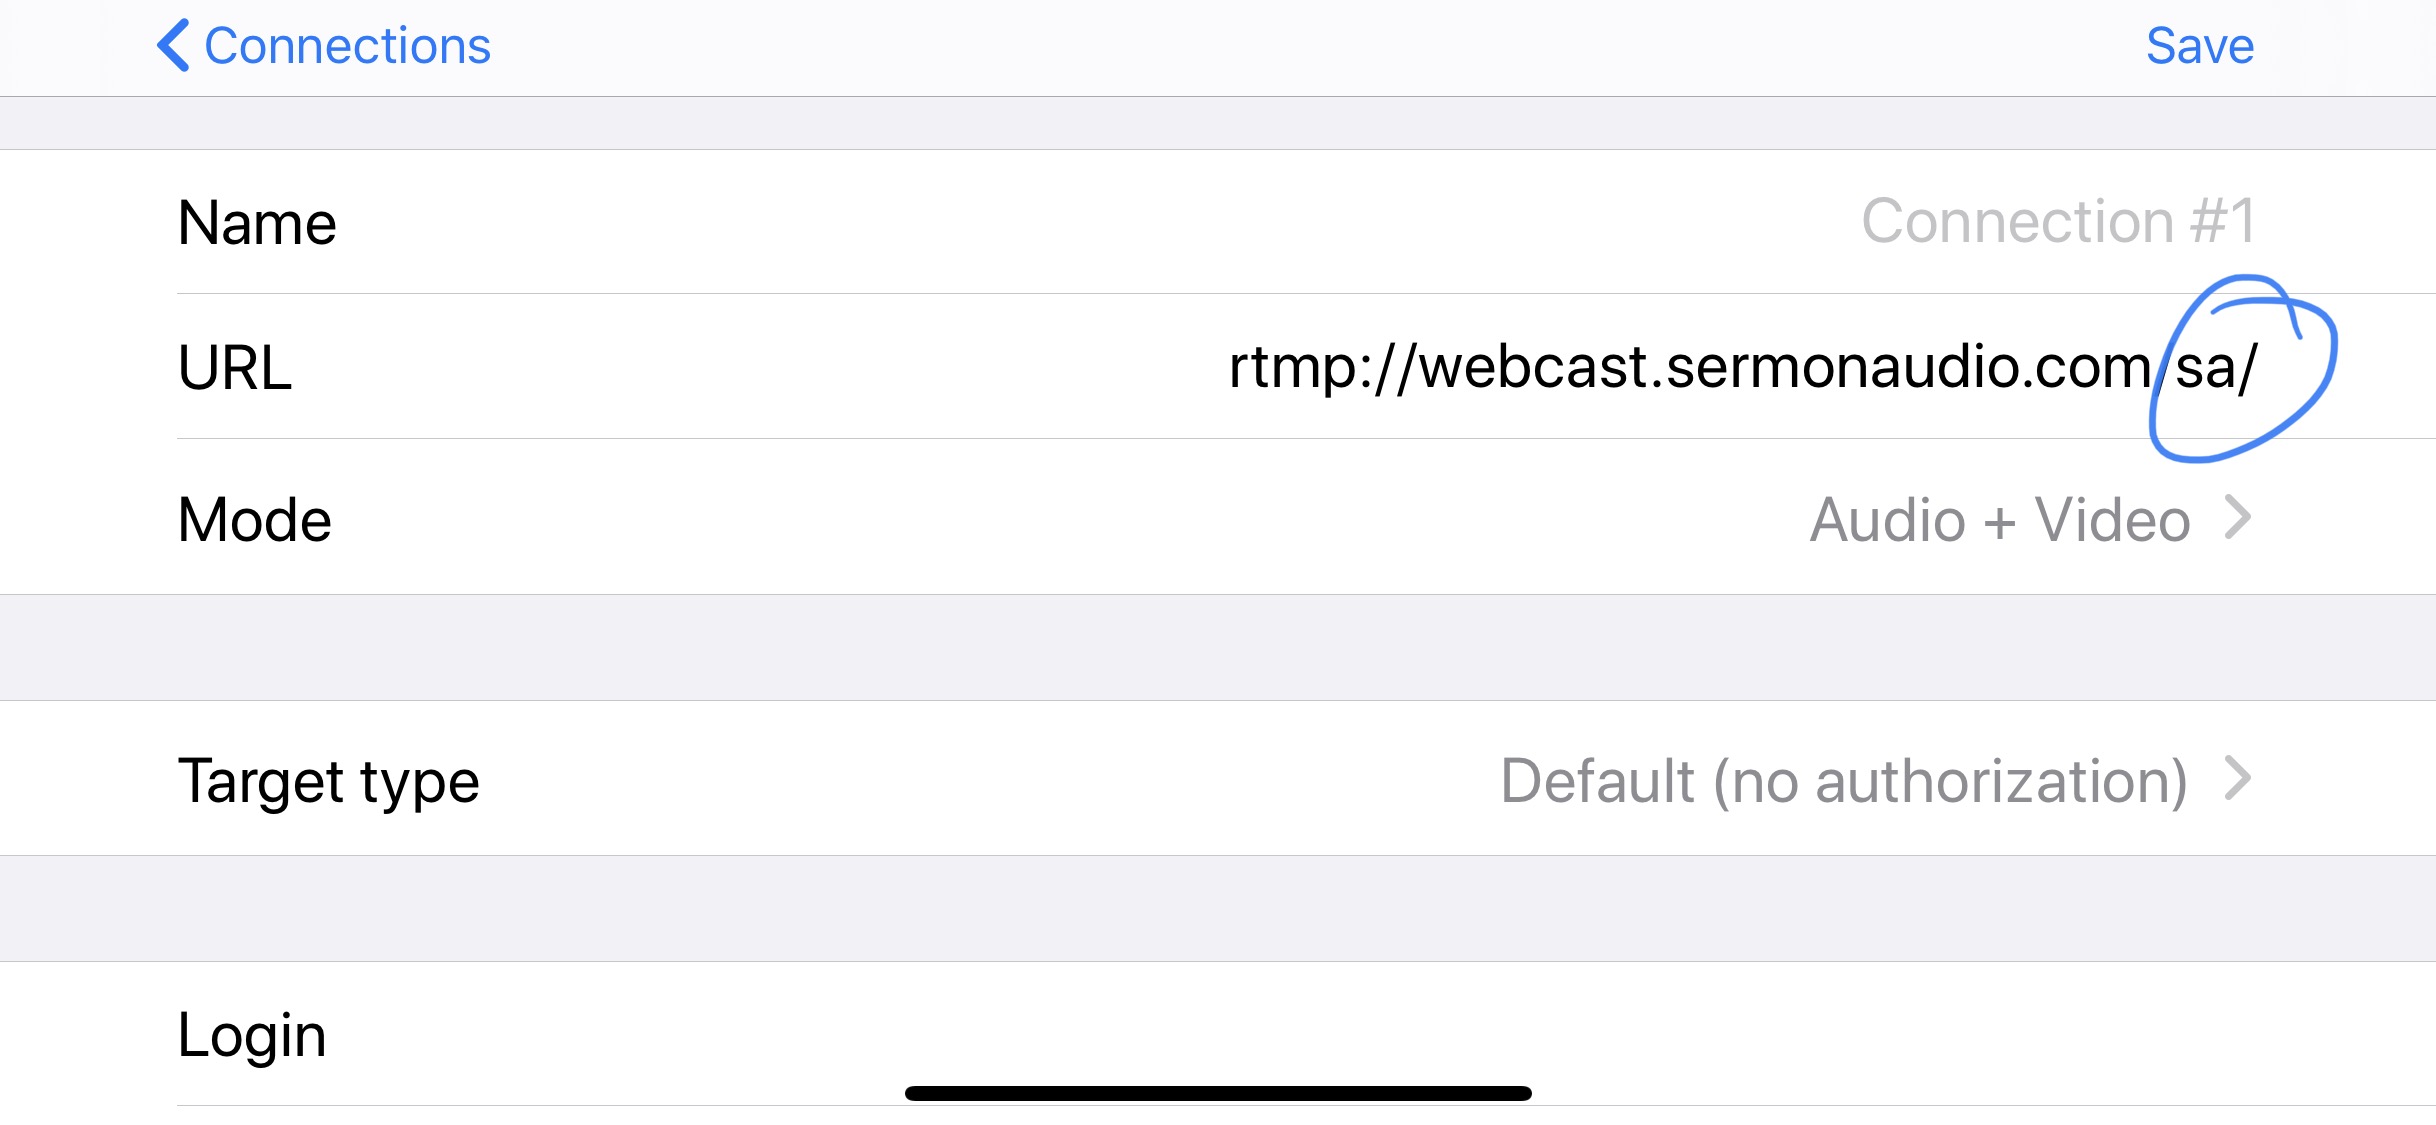
Paste the combined URL that includes the stream key from the additional formats section of the dashboard into the URL field on Larix
It should look like this when you are done.
rtmp://webcast.sermonaudio.com/sa/xxxxxxxx-xxxx-xxxx-xxxxxxxxxxxx
The x’s are your stream key.
Be careful with this. If you make a mistake the stream will be rejected.
The next thing to select is the MODE. Larix will allow you to stream Audio-Only. If you wish you can select that or just leave the default Audio+Video for regular streaming.
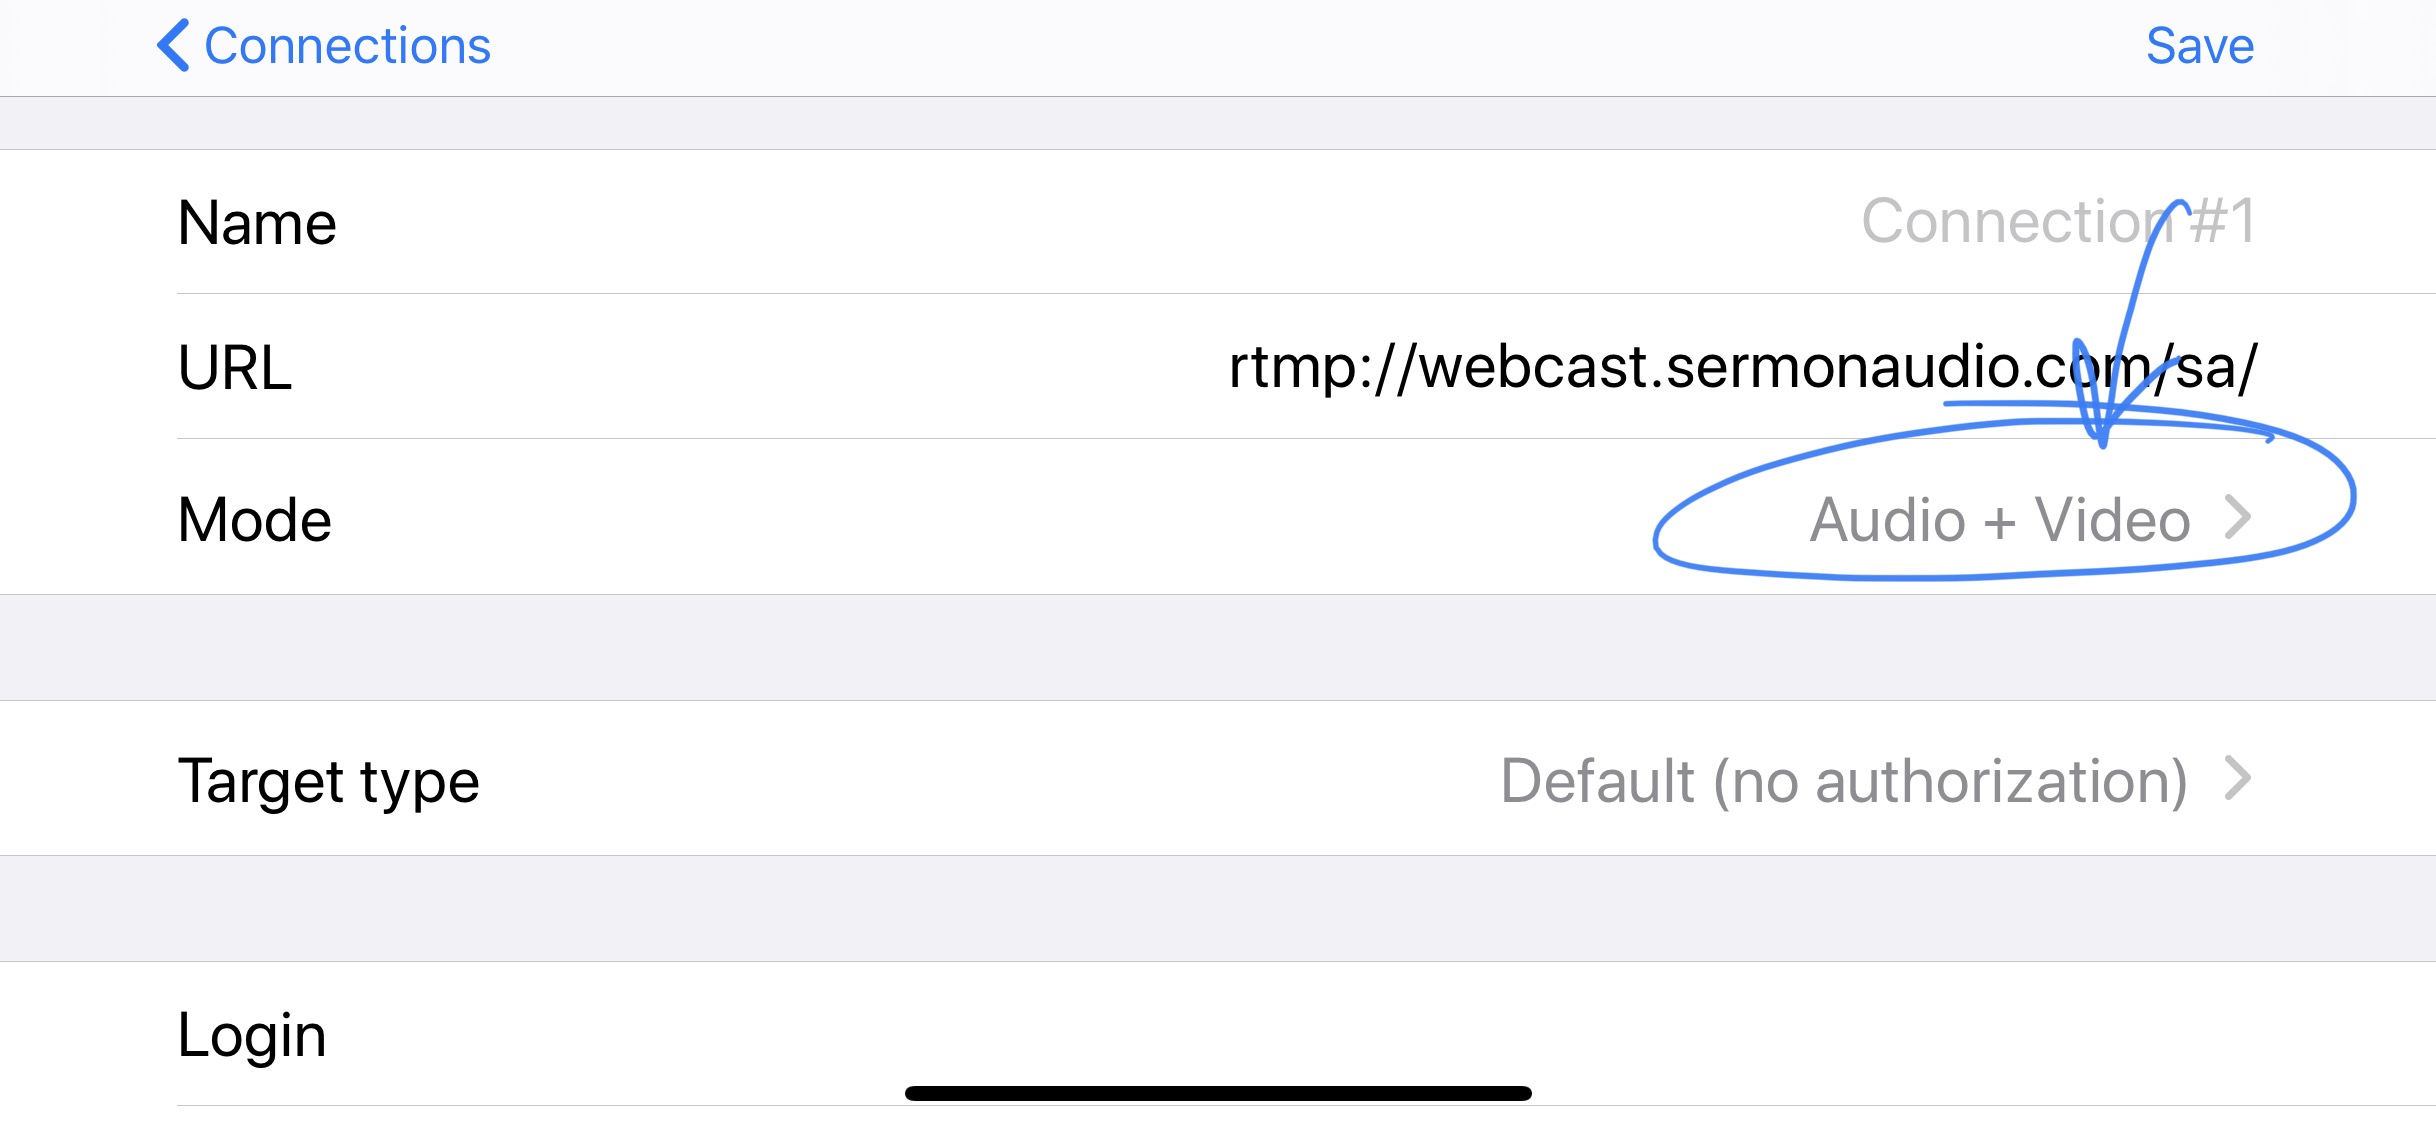
Note: Even when in Audio-Only mode the Larix app will record the video as well if you have the record option set. So just be aware that if you are going to record the stream locally on your device you will be recording video too even if the Audio-Only mode is only sending Audio to us.
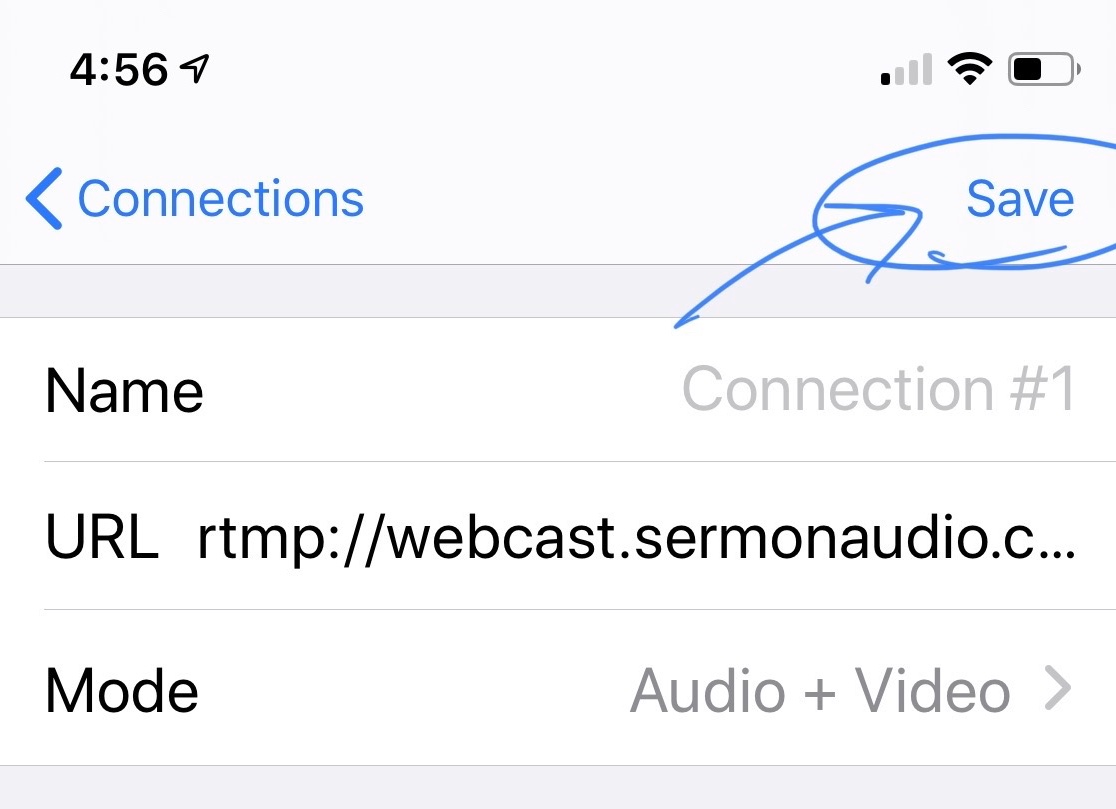
When you are finished do not forget to touch Save in the upper right corner to save your changes.
Next back out to the main settings screen by touching “Connections” and then “Settings”
Once back on the main settings page select Capture and Encoding to set up your resolution and bitrate and to turn on the recording option if you want to record locally.
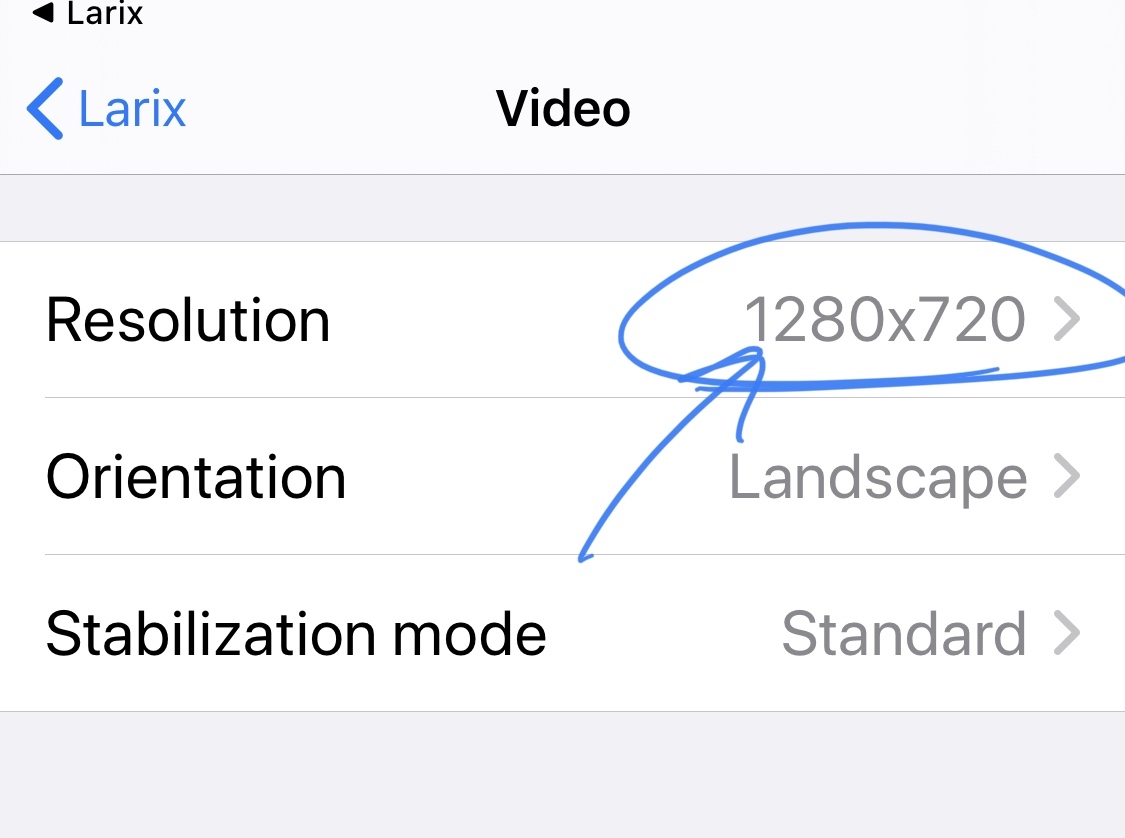
First, tap on the video option under broadcasting and select your resolution. The default is set to a standard definition 640 x 480. This a square format and will result in letter boxing on the player. We recommend switching to a 16:9 ratio like 1280 x 720.
Next choose the bitrate. 2500Kbps is a good bitrate for 720p but it really will depend on your upload speed. A good general rule of thumb is not to go over half of your upload speed. If you have not yet done a speed test on the connection you are using it is a good idea to do that before deciding on a bitrate. Remember that because you are using a wireless device it is likely that your connection will vary from place to place and from time to time. You may need to adjust the bitrate down if you run into issues with your stream.
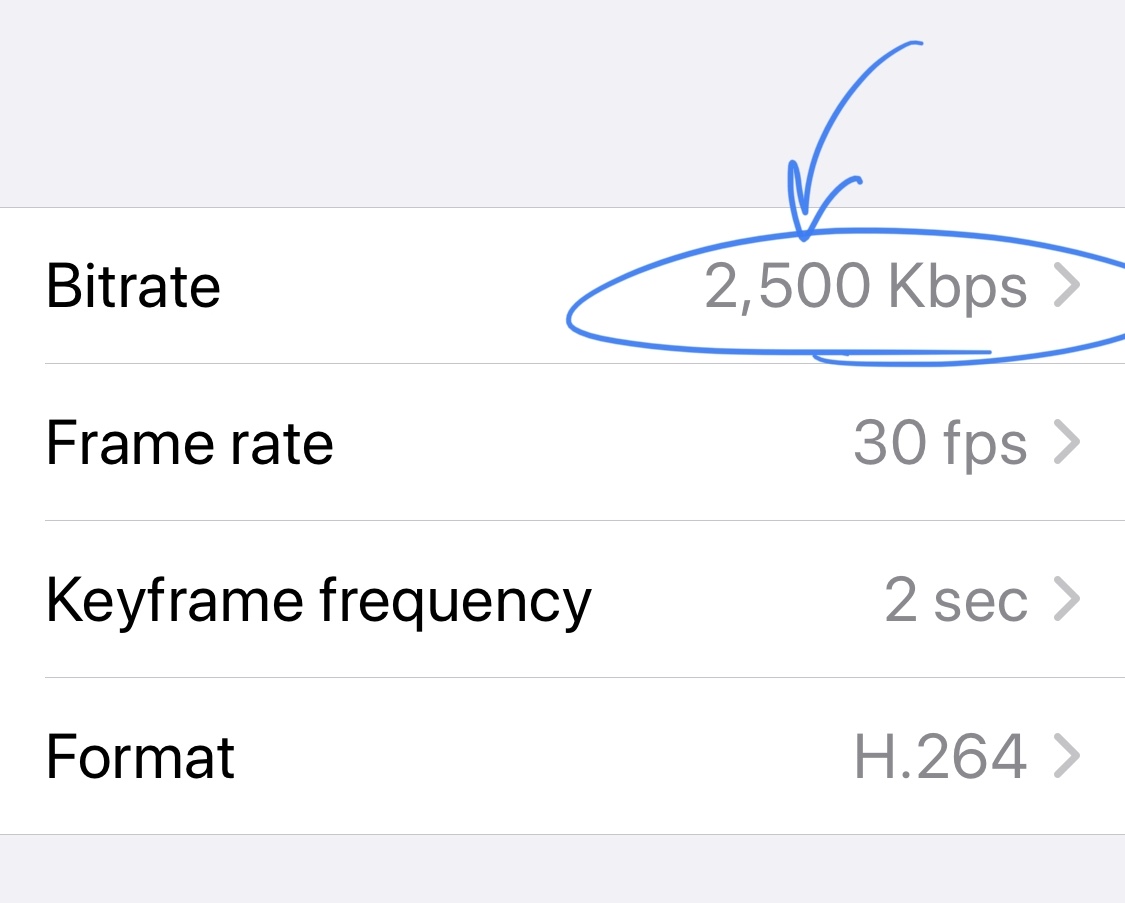
The rest of the default settings for video should be ok.
The last step is to decide whether you want to record and if so to enable that option. If you do not want to record the video of your stream by default this is turned off and you can back out to the main screen and begin streaming.
if you do want to record back out to the Larix settings page and select the record option under broadcasting.
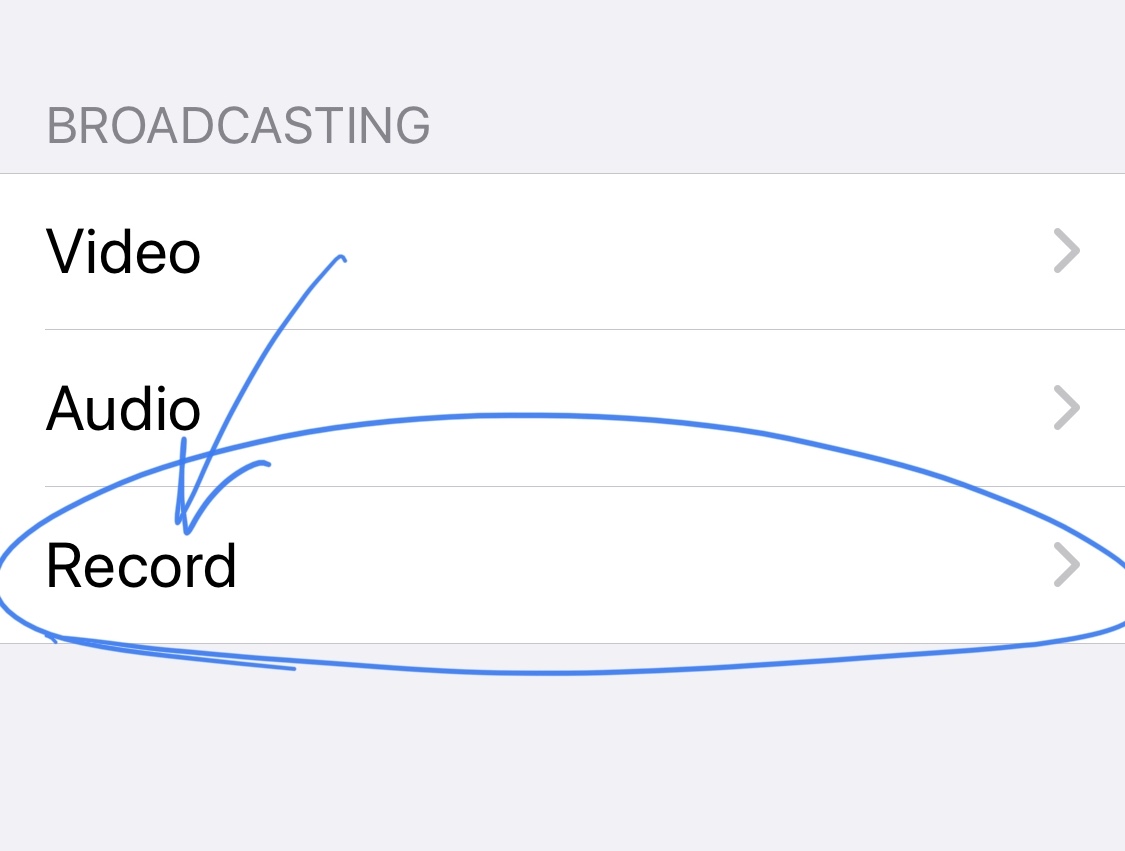
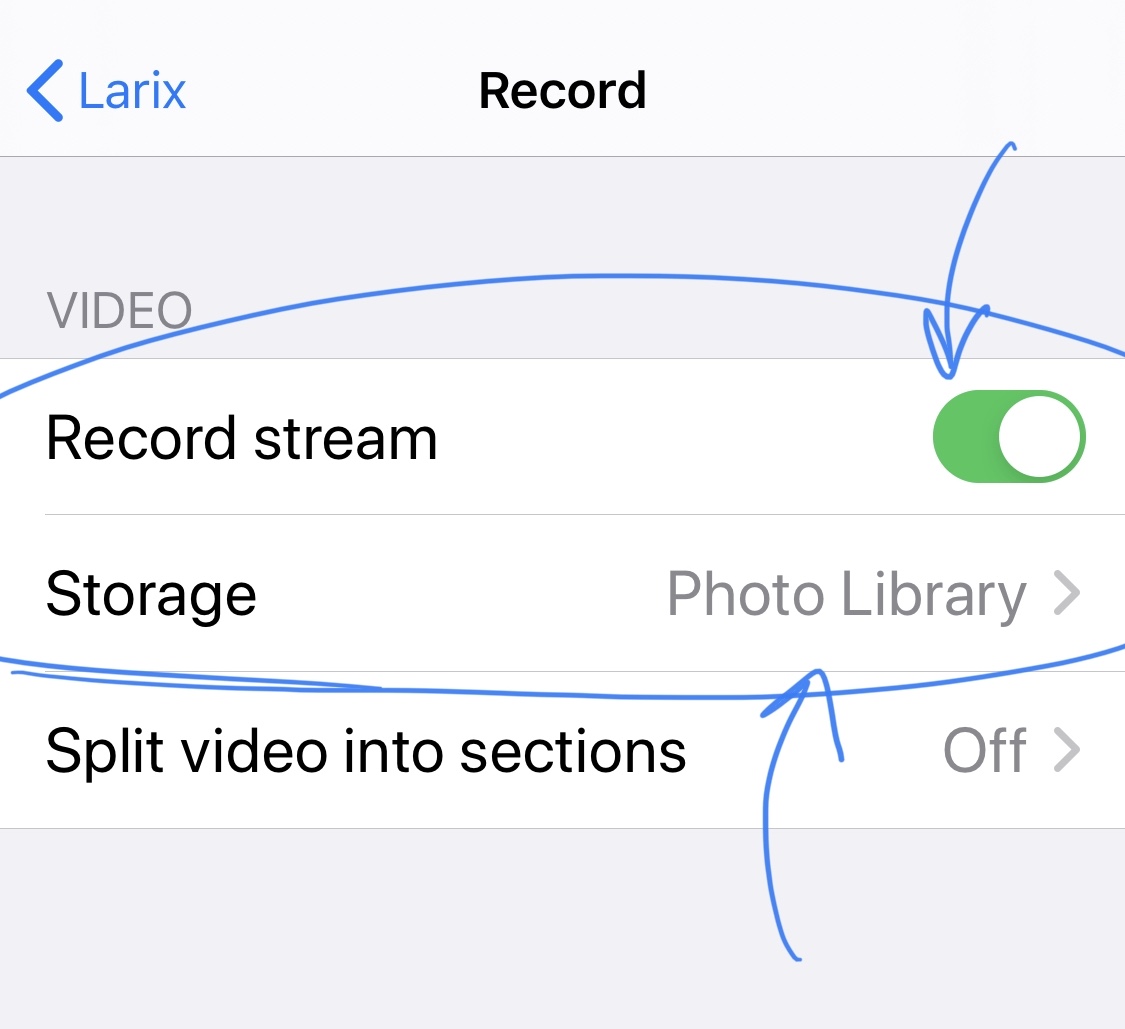
Next enable recording and choose the destination for your recording.
that’s it. You are ready to go. Just back out to the main Larix screen and start your webcast by touching the big red record button.
Note: It can take up to a minute (or more in rare cases) to actually see the stream on the site. It is a good idea to start your stream a few minutes early just to give your viewers time to connect before you begin with the service. You can monitor the stream in the Webcast Manager section of the Broadcaster Dashboard to see when your stream is live on the site and to get a snapshot on where your viewers are coming from.
To stop streaming just touch the stop button in the bottom center of the screen.
Your Live Stream will appear prominently on your SermonAudio homepage, your SOLO site, The MyChurch App and the regular site apps, The Apple TV, ROKU, and Fire TV as well as in any embed codes you have installed elsewhere on the web. It will also be available on the Amazon echo and for US-based listeners on the listen line.
For more on embedding the webcast in your own website visit the embed code editor help page.
Feel free to contact us if you have any questions or need assistance.


